Champai Soren Biography In Hindi | चंपई सोरेन का प्रारंभिक जीवन और परिवार 1,February, 2024 by Saurav Kumar
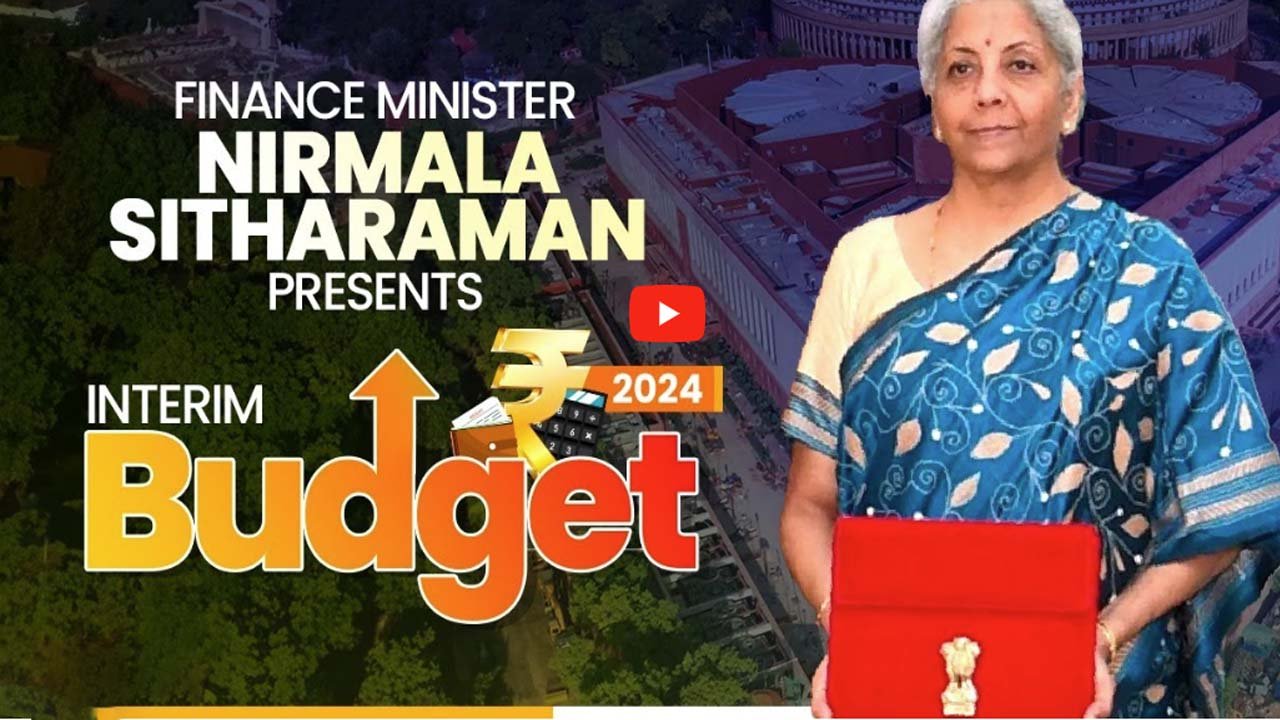
Budget 2024 All Updates : युवा, महिला, किसान के लिए अहम घोषणाएं हो सकती है। 1,February, 2024 by Saurav Kumar
Fighter Box Office Collection Day 5 | फिल्म दुनिया भर में 200 करोड़ क्लब में शामिल हो गई है 30,January, 202430,January, 2024 by Saurav Kumar
Fighter Movie Review In Hindi : इस Movie से किसी ने भी ऐसी उम्मीद नहीं की थी जिसने सभी रिकार्ड्स को तोड़ दिया है 30,January, 202427,January, 2024 by Saurav Kumar
Bank Loan Updates: लोन लेना चाहते हैं तो आपके लिए एक बहुत ही अच्छी खबर है 31,January, 202427,January, 2024 by Saurav Kumar
Upcoming Movies In 2024: क्या आपको है पता कि इस साल 2024 में कौन-कौन सी फिल्म रिलीज हो रही है 31,January, 202425,January, 2024 by Saurav Kumar
Ram Mandir Ayodhya UP: 500 बर्षो का इंतज़ार हुआ पूरा, अयोध्या में पधारे रामलला 31,January, 202423,January, 2024 by Saurav Kumar